

Supply-and-demand indicators automatically map institutional liquidity zones — areas where large buying or selling originated — so traders can treat those zones as probabilistic reaction levels. The core rule: enter at fresh demand zones with volume confirmation, place your stop below the base, and target the next supply zone or a minimum 2R level.
TL;DR:
- Supply-and-demand indicators plot price zones where institutional orders were executed, not just where price bounced.
- Zones carry a lifecycle status: fresh (untested), retested (partially filled), or broken/mitigated (removed from the chart).
- Fresh, untested zones are statistically more reliable because unexecuted institutional orders remain live inside them.
- Prefer entries at fresh demand zones with volume confirmation; stop below the base; target the next supply zone.
- These are probabilistic tools, not guarantees. Always combine zone analysis with position sizing and risk management.
Table of Contents
- What supply-and-demand indicators actually plot
- Anatomy of a supply or demand zone: base, departure, and return
- How indicators detect zones: algorithms, filters, and lifecycle rules
- How to use supply-and-demand zones in trade planning
- Indicator settings and features to look for
- How supply-and-demand zones differ from support/resistance, order blocks, and FVGs
- How to backtest and validate supply-and-demand indicators
- Common mistakes, limitations, and how to avoid them
- Key Takeaways
- Why experienced traders treat zone indicators differently
- Scalping-algo's supply-and-demand suite covers the full checklist
- Useful sources and further reading
What supply-and-demand indicators actually plot
Supply-and-demand indicators, often called S&D zone indicators in the industry, mark the origin of large, directional price moves. The zone itself is not a line — it is a box representing the price range of the base candles that preceded an impulsive departure. Supply zones sit above current price (institutional selling origin); demand zones sit below (institutional buying origin).
A typical indicator draws several visual elements on your chart:
- Zone box: a shaded rectangle spanning the high and low of the base formation
- Zone edges: upper and lower price labels so you can read the exact level without hovering
- Status tag: fresh (solid border), retested (dashed or semi-transparent), broken (removed or flipped)
- Volume or delta annotation: cumulative buying/selling volume inside the zone, sometimes expressed as a Delta % Strength metric
- Color coding: green or blue for demand, red or orange for supply, with opacity changes tied to zone state
Here is what the candle sequence looks like in practice. Price consolidates in a tight range for two to five candles — that is the base. Then a single large candle (or two) breaks out with above-average volume and closes well away from the range. The indicator plots a box over the base candles. When price returns to that box, you have your retest. The zone remains active until price closes through it, at which point the indicator either removes it or flips it to the opposite type.
Anatomy of a supply or demand zone: base, departure, and return
Understanding the three structural components of a zone tells you exactly what you are trading and why each element matters for stop placement and entry timing.
-
Base formation. The base is the consolidation phase immediately before the impulsive move. Candles are small, overlapping, and low-volume. This is where institutional orders were placed — the zone box covers this range. The tighter the base, the more precise your stop can be.
-
Departure (impulse leg). A strong, high-volume candle exits the base and travels a significant distance without retracing. High-quality setups show a liquidity sweep followed by strong displacement and volume confirmation. Indicators measure displacement using ATR multipliers or body-percentage thresholds — if the departure candle does not clear the minimum ATR multiple, the zone is not plotted. This filter keeps weak, retail-driven moves off your chart.
-
Return (retest or mitigation). Price eventually returns to the zone. A fresh zone that has not been touched offers the highest-probability entry because institutional orders inside it have not been filled. A zone that has been retested once may still hold, but requires additional confluence — volume confirmation, a higher-timeframe alignment, or a liquidity sweep at the zone edge. A zone that price closes through is mitigated: the orders are filled, the level is no longer valid, and the indicator removes or flips it automatically.
Zone thickness matters for stop placement. ATR-based zone sizing adapts the box height to current volatility, so your stop scales appropriately across instruments. A thin base on a low-volatility instrument gives you a tight stop. A wide, choppy base on a volatile futures contract demands a wider stop — or you skip the trade entirely.
Mini scenario: fresh vs. retested. A fresh demand zone on the ES 15-minute chart that formed after a liquidity sweep of the prior session low is a high-probability setup. A demand zone on the same chart that has already been touched twice and produced only small bounces needs FVG confirmation or a clear volume spike on the retest before you commit size.

How indicators detect zones: algorithms, filters, and lifecycle rules
Detection quality separates a useful indicator from chart noise. Here is what to look for under the hood:
Common detection methods:
- Swing-high/swing-low pivots: The simplest approach. The indicator identifies local pivot points and draws zones around the consolidation preceding each pivot. Fast, but prone to false positives on choppy charts.
- Liquidity-sweep detection: The indicator looks for a wick that clears a prior swing high or low before a strong reversal. Zones formed after a liquidity grab are often more reliable because they reflect institutional entry points, not retail reactions.
- Fair value gap (FVG) / imbalance confirmation: A three-candle pattern where the middle candle's body leaves a gap between the wicks of candles one and three. FVG confirmation inside or adjacent to a zone increases the probability that price will return to fill the imbalance.
- ATR/volatility gating: Zones are only plotted when the departure candle exceeds a minimum ATR multiple. This filters out low-momentum moves that rarely produce clean retests.
- Volume filters: Effective zone detection uses volume filtering to avoid retail noise, prioritizing areas where volume exceeds a user-defined threshold. Some scripts label each zone with cumulative bullish or bearish volume and a Delta % Strength metric for direct comparison between zones.
Lifecycle tagging in real time:
Real-time mitigation logic automatically updates or removes zones once price clears them. Most indicators use three states:
- Fresh: solid border, full opacity — zone has not been touched since formation
- Retested: dashed border, reduced opacity — price entered the zone but did not close through it
- Broken/mitigated: removed from chart, or flipped to the opposite zone type
Zone overlap and "zone soup":
Too many overlapping levels is one of the most common chart problems traders face. Practitioners favor indicators with filtering logic that removes mitigated zones or limits the number of active zones to maintain execution clarity. Look for a maximum active-zone setting and an overlap-prevention filter that merges or drops zones that share more than a defined percentage of their price range.

Key terms you need:
| Term | Definition |
|---|---|
| Liquidity sweep | A wick that clears a prior swing high/low before reversing sharply |
| Displacement | A strong, high-volume candle that exits the base and travels far without retracing |
| FVG (fair value gap) | A three-candle imbalance where price is likely to return to fill the gap |
| Mitigation | Price closing through a zone, depleting the institutional orders inside it |
| Zone soup | An overcrowded chart with too many overlapping, unfiltered zones |
How to use supply-and-demand zones in trade planning
Zones give you a map. How you use that map determines whether you profit. Here is a repeatable process across scalping, intraday, and swing styles.
Pre-entry checklist
Before placing any order at a zone, run through these four checks:
- Zone freshness. Is the zone untested? Fresh zones carry unexecuted institutional orders. A zone touched more than twice without a strong rejection loses priority.
- Volume confirmation. Does the zone show above-average volume on formation, or does the retest candle show a volume spike? Volume weighting and delta percent strength help quantify a zone's internal buying or selling pressure.
- Higher-timeframe alignment. High-timeframe zones on the daily or weekly chart provide stronger, more reliable levels, while lower timeframes are useful for execution precision. If your 15-minute demand zone sits inside a daily demand zone, the confluence is meaningful.
- Session context. London open and New York open sessions produce the most reliable zone reactions. Avoid trading zones during low-liquidity periods (Asian session on forex pairs, pre-market on equities) unless you have a specific edge there.
Entry templates
Limit order at zone edge: Place a limit buy at the top of the demand zone box (or limit sell at the bottom of the supply zone box). This gives you the best price but requires the zone to hold without a close-through.
Market order on retest confirmation: Wait for price to enter the zone, show a rejection candle (pin bar, engulfing, or strong close back above the zone edge), then enter at market. You give up some price but get confirmation.
Breakout continuation: When a supply zone is broken with strong volume and displacement, the broken supply becomes a demand zone. Enter on the first pullback to the former supply level. This is a flip-zone trade and works well on trending instruments.
Stop placement: Always place your stop below the base of a demand zone (or above the base of a supply zone), not at the zone edge. The base is where the institutional orders were placed — if price closes through the base, the thesis is invalidated.
Targeting and scaling
Set your first target at the next opposing zone (nearest supply zone above for a long trade). For a minimum viable trade, require at least 2R before entry. Scale out 50% at 1.5R and let the remainder run to the full target. If price stalls at a mid-structure level before reaching your target, consider closing the full position rather than holding through resistance.
Risk management rules:
- Risk no more than 1% of account per zone trade.
- Limit active zone trades to two per instrument at one time.
- If a zone fails (price closes through it), close the trade immediately — do not average down into a mitigated zone.
- After three consecutive losing zone trades, pause and review whether the zone-detection parameters need adjustment for current volatility.
Indicator settings and features to look for
Configuration separates a well-tuned zone indicator from one that clutters your chart with noise. Here is a practical checklist with recommended defaults for three trading styles.
-
Pivot lookback period. Controls how many bars the indicator scans to identify swing highs and lows. Shorter lookbacks (5–10 bars) produce more zones; longer lookbacks (20–50 bars) produce fewer, higher-timeframe zones. Scalping default: 5–10. Intraday: 10–20. Swing: 20–50.
-
Minimum displacement (ATR multiplier). The departure candle must exceed this ATR multiple to qualify as a valid zone. Higher values filter out weak moves. Scalping: 0.5–1.0x ATR. Intraday: 1.0–1.5x ATR. Swing: 1.5–2.0x ATR.
-
Confirmation bars. How many candles must close after the departure before the zone is plotted. Setting this to 1 or more prevents the indicator from drawing zones on incomplete candles, which is the core of non-repainting logic. Always use "Confirmed Only" mode for backtesting.
-
Volume threshold. The minimum volume required on the departure candle for a zone to be plotted. Set this relative to the instrument's average volume. On low-volume instruments, lower the threshold; on high-volume instruments, raise it to filter retail noise.
-
Maximum active zones. Cap the number of visible zones per side (supply and demand separately). A limit of 3–5 per side keeps charts readable. More than that and you are in zone soup territory.
-
Zone spacing filter. Prevents two zones from being plotted within a defined price range of each other. Useful on instruments with clustered structure levels.
-
Timezone and session filter. Restricts zone creation to specific sessions (New York, London). Zones formed during high-liquidity sessions tend to be more reliable.
Feature checklist — what every serious zone indicator should have:
- Non-repainting logic (confirmed candle close before zone creation)
- Multi-timeframe aggregation (display higher-timeframe zones on a lower-timeframe chart)
- Zone lifecycle tagging (fresh/retested/broken with automatic removal)
- Alert and webhook support (trigger when price enters a zone)
- Price-edge labels (exact price levels displayed on zone borders)
- Zone display options (solid border for fresh, dashed for retested)
- Overlap prevention and maximum active-zone limits to prevent chart clutter
For institutional-grade detection methods, the combination of liquidity-sweep detection, FVG confirmation, and ATR gating produces the cleanest zone sets across asset classes.
How supply-and-demand zones differ from support/resistance, order blocks, and FVGs
These concepts overlap, and conflating them is one of the most common mistakes traders make. Here is how they differ and how to combine them.
Support and resistance (S/R): Historical price levels where price has reacted multiple times. S/R is backward-looking — it marks where price has bounced, not necessarily where institutional orders remain. A level that has been tested many times has likely been depleted of orders. Supply-and-demand zones, by contrast, prioritize fresh areas where orders have not yet been filled.
Order blocks: The last opposing candle (or cluster of candles) before a strong impulsive move. Order blocks are a subset of supply-and-demand logic, but they focus specifically on the institutional candle that initiated the move, not the full base consolidation. The distinction between order block labels and zone freshness is a common source of confusion — an order block that has been retested multiple times is not the same as a fresh demand zone.
Fair value gaps (FVGs): Three-candle imbalances where price is likely to return to fill the gap. FVGs are not zones by themselves — they are confirmation filters. When an FVG sits inside or adjacent to a fresh supply-and-demand zone, the confluence significantly increases the probability of a reaction.
Practical integration rules:
- Prefer zone-based entries when the zone is fresh and the departure was strong. Use order blocks as a secondary confirmation of the institutional origin.
- Use FVGs to time your entry within the zone — if price fills the FVG inside the zone and shows rejection, that is a high-probability trigger.
- Avoid trading S/R levels that have been tested more than three times without a strong reaction. Repeated tests deplete orders; a supply-and-demand zone with the same characteristic should be downgraded or skipped.
- Never treat an order block as a guaranteed reversal just because it is labeled on the chart. Confirm it is fresh, has a strong departure, and aligns with higher-timeframe structure before committing.
Pro Tip: When a supply zone is broken and price returns to it from above, that former supply zone often acts as a demand zone (a "flip zone"). This is one of the highest-probability setups in zone trading — the institutional orders that were defending supply are now defending demand.
How to backtest and validate supply-and-demand indicators
Backtesting zone strategies requires more structure than backtesting a simple moving-average crossover. Zones are dynamic, and their quality depends on state at the time of entry.
Step-by-step backtest methodology
-
Define your universe. Choose one instrument and one timeframe to start. Mixing instruments in an early backtest obscures whether your edge is real or instrument-specific.
-
Set zone-creation rules. Lock in your indicator settings before you start logging trades. Use "Confirmed Only" mode so zones are only created after candle close — this eliminates lookahead bias. Non-repainting logic and confirmed-only detection modes remove lookahead risk and are recommended for backtesting reliability.
-
Log every event. For each zone touch, record: zone state at entry (fresh/retested/broken), entry type (limit/market), stop level, target level, higher-timeframe context, and session. Backtests should log zone state at entry, entry type, and the visible higher-timeframe context to evaluate touch quality and per-zone expectancy accurately.
-
Run in-sample, then out-of-sample. Test on 6–12 months of historical data (in-sample). Then run the same parameters on a forward 3-month period (out-of-sample) without adjusting settings. If performance degrades sharply, the parameters are overfit.
-
Walk-forward testing. Roll the in-sample window forward by one month at a time and re-run. Consistent performance across windows indicates a robust edge.
Metrics to collect
| Metric | What it tells you |
|---|---|
| Win rate | Percentage of zone touches that hit target before stop |
| Average R:R | Average reward-to-risk ratio across all trades |
| Max drawdown | Largest peak-to-trough equity loss during the test period |
| Expectancy | (Win rate × avg win) minus (loss rate × avg loss) — must be positive |
| Touches per zone | How many times price entered the zone before mitigation |
| Time in trade | Average bars held — helps identify if zones are too slow for your style |
A minimum of 50–100 trades per parameter set is needed before results carry statistical weight. Fewer than that and variance dominates.
Running the test with TradingView tools: Set your zone indicator to "Confirmed Only" mode, enable alerts for zone entry, and export the alert log to a spreadsheet. Tag each alert with zone state and session. After 30 days of forward data, calculate the metrics above. Scalping-algo's backtesting dashboard and Algo Master suite streamline this process by integrating alert logging, zone state tracking, and performance metrics in one place.
Common mistakes, limitations, and how to avoid them
Zone trading fails in predictable ways. Knowing the failure modes in advance is the fastest way to avoid them.
Do-not-do list:
- Trading every zone touch. Not every zone touch is a trade. Require at least two of your three confirmation filters (freshness, volume, higher-timeframe alignment) before entering. Trading every touch without filters is the fastest way to blow a zone-based account.
- Ignoring volume confirmation. A zone that forms on low volume is a weak zone. Volume is the footprint of institutional activity — without it, you are trading a retail-drawn line.
- Overcrowding charts with zones. More zones do not mean more opportunities. They mean more confusion. Cap your active zones at 3–5 per side and remove mitigated zones immediately.
- Using real-time (aggressive) mode without safeguards. Some indicators offer a real-time zone preview before candle close. This is useful for awareness but should never be used for backtesting or live entries — it introduces repainting risk.
Limitations:
- Probabilistic, not deterministic. Supply-and-demand zones are probabilistic areas that map liquidity; they should not be treated as guaranteed reversal points. Price can and does run through fresh zones, especially during high-impact news events.
- Repainting risk in poorly designed scripts. Any indicator that draws zones based on future candle data will repaint. Always verify that your indicator uses confirmed-close logic before trusting its historical signals.
- Timeframe mismatch. A 1-minute zone inside a 4-hour supply zone is not the same as a 4-hour zone. Trading lower-timeframe zones against higher-timeframe structure is a common cause of unnecessary losses.
- False signals around news events. High-impact economic releases (FOMC, NFP, CPI) can blow through multiple zones in seconds. Either avoid trading zones during scheduled news or widen your stop and reduce position size.
Corrective actions:
- Add a minimum of one confirmation filter beyond zone freshness before every entry.
- Set your indicator's maximum active zones to 5 or fewer per side.
- Always check the institutional-grade tools rationale for filtering logic before trusting a zone indicator in live trading.
- Increase confirmation bars to 2–3 during high-volatility sessions or around scheduled news.
- Size positions at 1% risk or less until your backtest shows a positive expectancy over at least 50 trades.
Key Takeaways
Fresh zones with volume confirmation and higher-timeframe alignment produce the most reliable supply-and-demand setups; combine them with strict position sizing and confirmed-only detection to build a repeatable edge.
| Point | Details |
|---|---|
| Prioritize fresh zones | Untested zones hold unexecuted institutional orders and offer the highest-probability entries. |
| Require volume confirmation | Volume or delta strength on zone formation or retest separates institutional zones from retail noise. |
| Use confirmed-only mode | Non-repainting, confirmed-close detection is mandatory for reliable backtesting and live signals. |
| Cap active zones | Limit displayed zones to 3–5 per side to prevent zone soup and maintain execution clarity. |
| Scalping-algo's Algo Master suite | Maps non-repainting detection, lifecycle tagging, multi-timeframe aggregation, and webhook alerts to the full checklist above. |
Why experienced traders treat zone indicators differently
Most traders who struggle with supply-and-demand analysis are not using the wrong indicator. They are using the right indicator the wrong way.
The daily routine of a disciplined zone trader starts before the session opens. You scan the higher-timeframe chart (daily or 4-hour) to identify the two or three zones that matter for the day. You do not mark every zone the indicator draws — you mark the ones that align with the current market structure trend and sit at a logical turning point. That pre-session review takes ten minutes. Everything after that is execution, not analysis.
Multi-timeframe confirmation is not optional for serious traders. A 15-minute demand zone that sits inside a daily demand zone is a different trade than a 15-minute zone in the middle of nowhere. The higher-timeframe context tells you whether institutions are likely to defend the level. Without it, you are trading a box on a chart, not a liquidity area.
Experienced traders also use alerts, not constant chart-watching. Set an alert when price enters the zone, step away, and come back when the alert fires. This removes the emotional pressure of watching price approach a level tick by tick. Discord communities and live trade logs serve a similar function — when other traders in a community are watching the same zone and logging their entries, you get a form of third-party verification that the level is real and being traded.
The behavioral rule that separates consistent zone traders from inconsistent ones: when you hit three consecutive losing zone trades, stop. Do not adjust your parameters mid-session. Do not add a new indicator to compensate. Review your trade log, check whether the market regime has shifted (trending vs. ranging), and return the next session with fresh eyes. Zone strategies underperform in choppy, low-volatility markets where price oscillates through zones without committing to a direction. Recognizing that regime and pausing is a skill, not a weakness.
Scalping-algo's supply-and-demand suite covers the full checklist
If you have run through the checklist in this article and want an indicator suite that satisfies every item without manual configuration, Scalping-algo's Algo Master is built for exactly that.
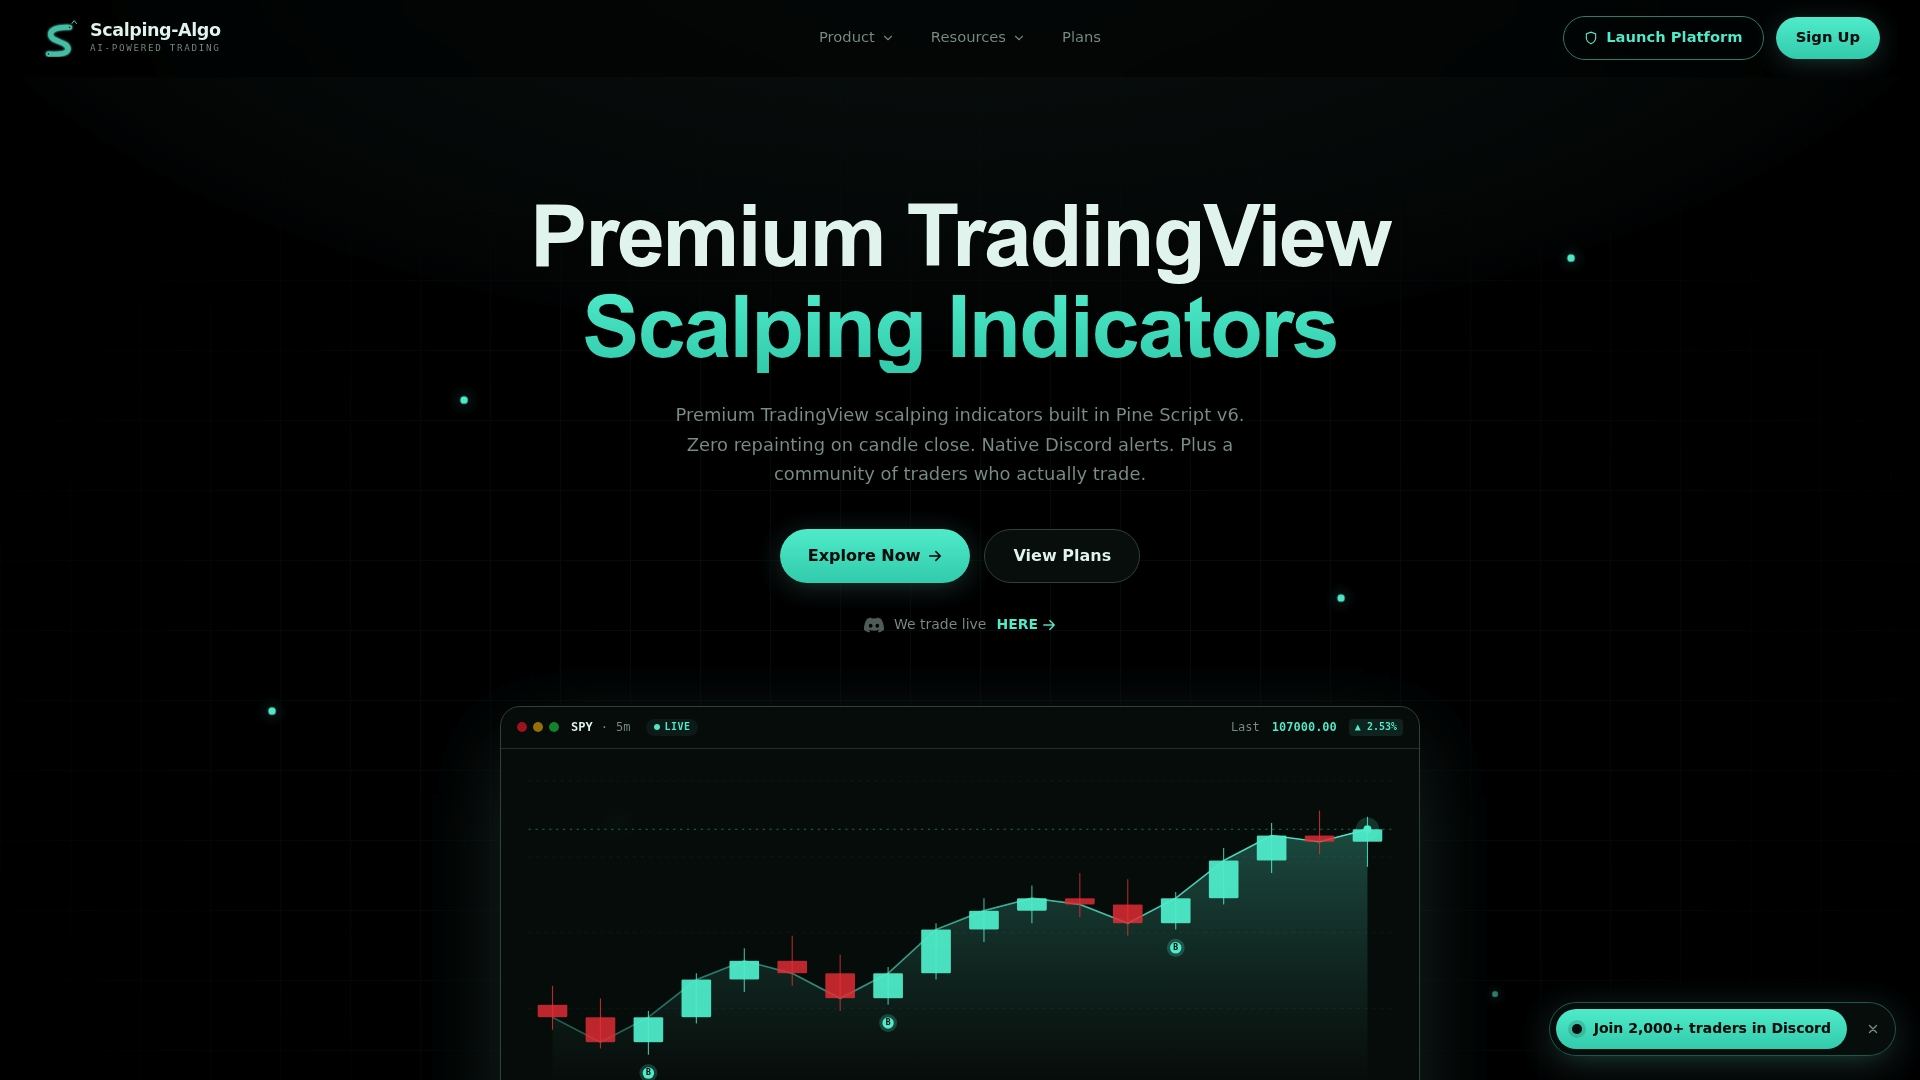
The suite runs on Pine Script v6, is fully open-source, and uses confirmed-close detection throughout — no repainting, no lookahead. Here is how the feature set maps to the checklist:
| Checklist item | Algo Master feature |
|---|---|
| Non-repainting detection | Confirmed-close Pine v6 logic across all signals |
| Volume filters | Volatility gating and volume confirmation built in |
| Zone lifecycle tagging | Fresh/retested/broken status with automatic removal |
| Multi-timeframe aggregation | Higher-timeframe zone overlay on any lower-timeframe chart |
| Alerts and webhook support | Native Discord webhook alerts and TradingView alert integration |
| Backtesting dashboard | Command Center with event logging and performance metrics |
| Community verification | Active Discord mentorship with live trade sessions |
The platform covers crypto, forex, indices, commodities, options, and futures — so the same suite works whether you are scalping NQ on a 5-minute chart or swing trading Bitcoin on the daily. Pricing options include monthly, yearly, and lifetime access. Check current plan details and pricing or go directly to scalping-algo.com to see the full suite and start a trial.
Useful sources and further reading
These resources cover indicator documentation, backtesting methodology, and community tools for traders who want to go deeper on supply-and-demand zone analysis.
- Supply and Demand Zones — BigBeluga (TradingView) — Detailed documentation on volume weighting, delta strength metrics, and zone lifecycle tagging; useful for understanding how to quantify zone quality.
- Supply & Demand Zones by darshakssc (TradingView) — Covers liquidity-sweep detection, FVG confirmation, and overlap-prevention logic; the clearest public explanation of multi-step institutional filters.
- Supply & Demand Zones PLUS (TradingView) — ATR-based zone sizing, confirmed-only mode documentation, and multi-timeframe aggregation settings; reference this when configuring stops and backtest parameters.
- Supply-Demand Zones AI PRO (TradingView) — Explains the event-logging approach for backtesting zone state at entry; useful for building your trade log template.
- Supply Demand Zone by tjzorder (TradingView) — A clean, customizable implementation with good documentation on visual settings and zone display options.
- Algo Master — Elite Trading Guide (Scalping-algo) — Scalping-algo's internal guide covering how to use the Algo Master suite in live trading, including zone-based entry examples and alert setup.
- Algo Master — Futures Trading Guide (Scalping-algo) — Specific guidance on adapting zone indicators to futures markets, including volatility regime adjustments and session filters.
- OptiqTrades — Active Trader Resources — A partner resource covering execution and market data services for active traders; useful for traders looking to integrate zone alerts with execution infrastructure.